Installation Screenshots of InstallShield 2010.
Recently I blogged about the release of InstallShield 2010 which supports Windows 7, Windows Server 2008 R2 and MSI5 with lots of new features. Today I installed the one and here are the screenshots of the installation:

Extracting the Setup file of InstallShield 2010 & preparing for starting installation.
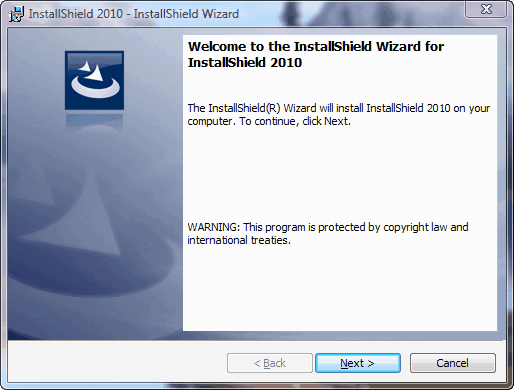
After this installation begins with user interaction.

Accept the End User License Agreement.

If you have the Serial number in case you purchased the software, just provide that or simply click on next in case you are evaluating the software.
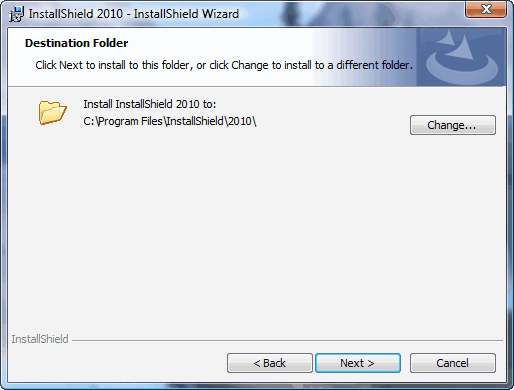
Provide the appropriate path for installation in case you want to change it else let it install at default path.
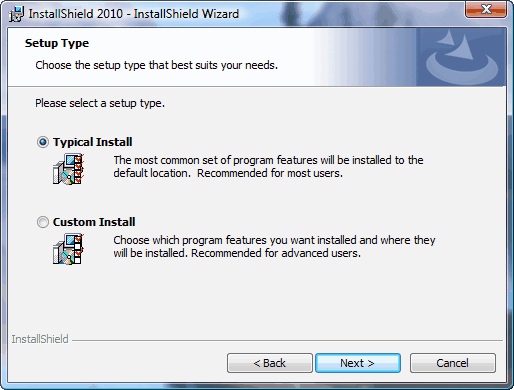
Choose the setup type either as Typical or choose custom in order to customize the installation.

Installation progresses as seen here by the green color progress bar.

Installation finished, click on Finish button.

After installation the Splash screen comes of the software.
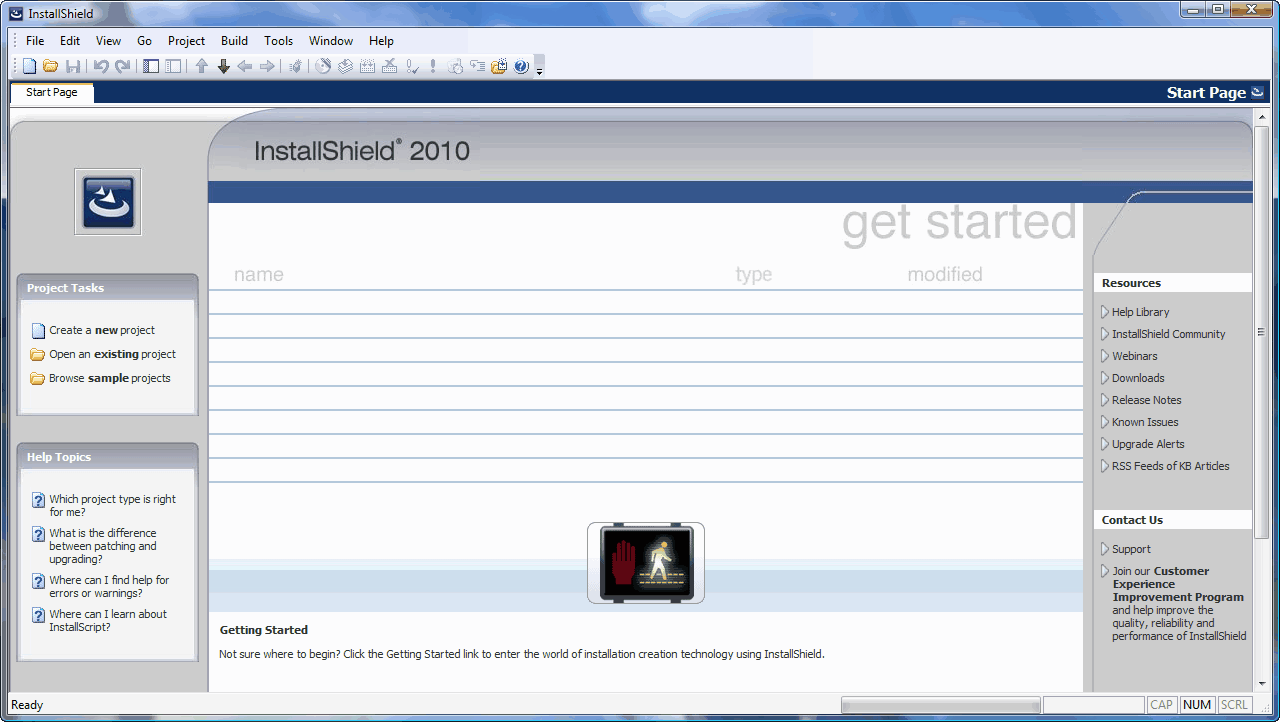
Its the UI means the User Interface were user interacts with it to accomplish his task.
This is the whole installation pprocess step by step and how the world installs software.
Extracting the Setup file of InstallShield 2010 & preparing for starting installation.
After this installation begins with user interaction.
Accept the End User License Agreement.
If you have the Serial number in case you purchased the software, just provide that or simply click on next in case you are evaluating the software.
Provide the appropriate path for installation in case you want to change it else let it install at default path.
Choose the setup type either as Typical or choose custom in order to customize the installation.
Installation progresses as seen here by the green color progress bar.
Installation finished, click on Finish button.
After installation the Splash screen comes of the software.
Its the UI means the User Interface were user interacts with it to accomplish his task.
This is the whole installation pprocess step by step and how the world installs software.
Subscribe to:
Post Comments (Atom)
Buy Quick Heal at Cheap Price


Friends


Link to us

BlogAdda
About Me
- Arvind Kumar
- I'm Arvind Kumar from India, B.Tech, now working in a MNC. I love to use Microsoft Products and learn from that. Bill Gates is my ideal person.

0 comments:
Post a Comment